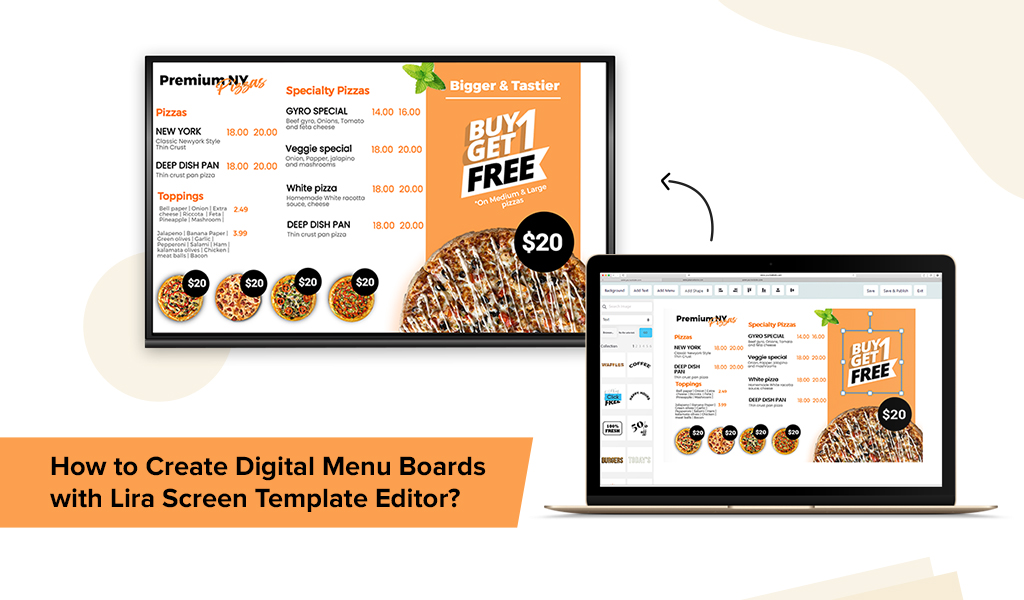
The digital menu board template editor of Lira Screen has certainly been one of the most important add-ons that we have created for the system.
With this editor, you can easily design a menu board template of your choice. Or, you can go on to edit an already created template that we have in-built in our system.
Simple Steps to Create Template with Menu Board Template Editor
1. Go under the App Store from the main menu of the dashboard
2. Tap on ‘Digital Menu Board Editor’
3. Tap on ‘Create Digital Board’
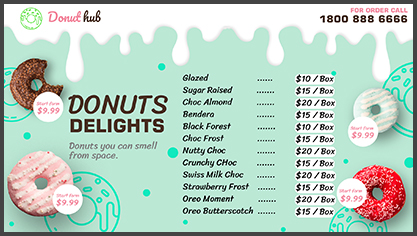
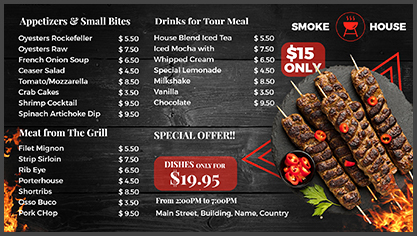
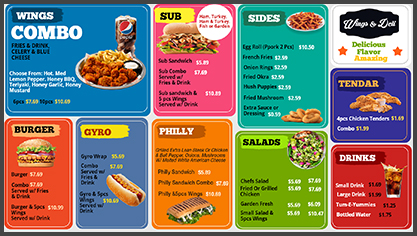
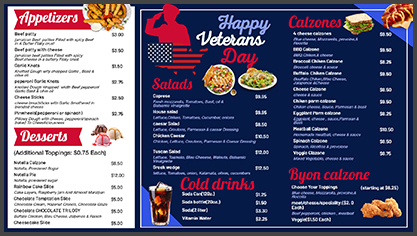
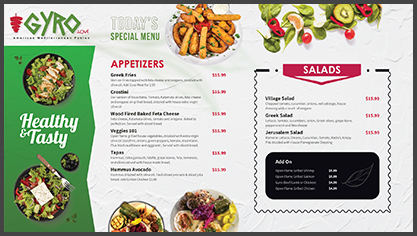
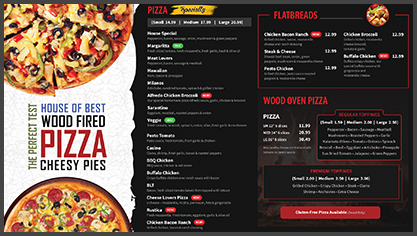
4. Get access to 100+ in-built menu board templates that are categorised for easy search.
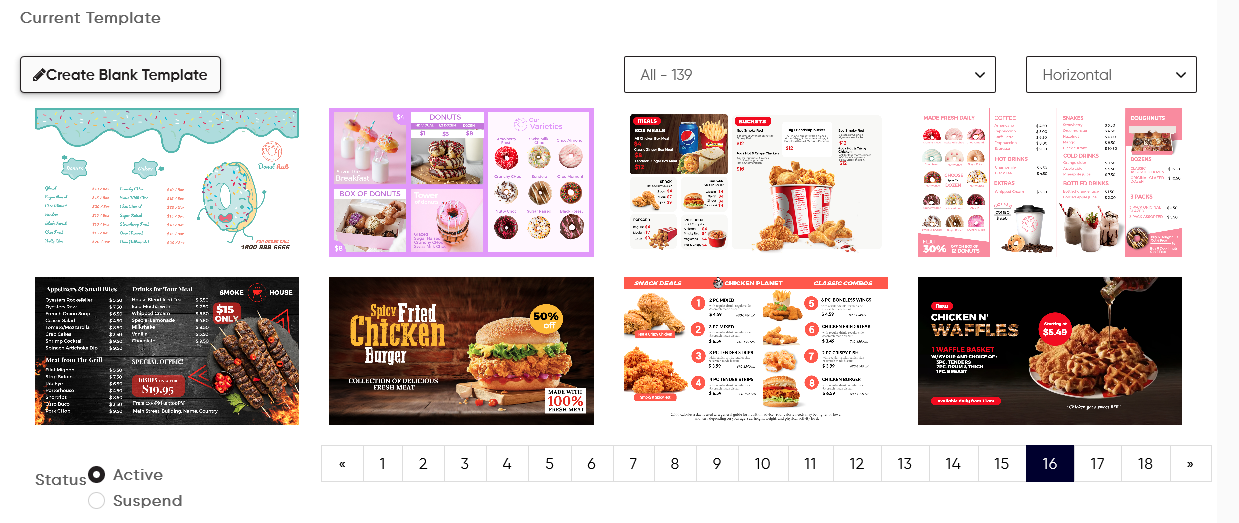
5. Give a name to the template and start editing it
6. If you want to create a template from scratch, tap on ‘Create Blank Template’
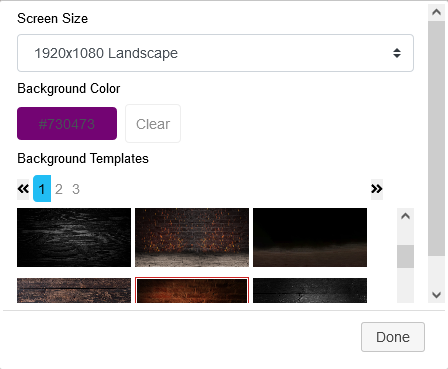
7. Tap on the ‘Background’ button to select one of your choices. You can also add a color to the background or select one of your choice.
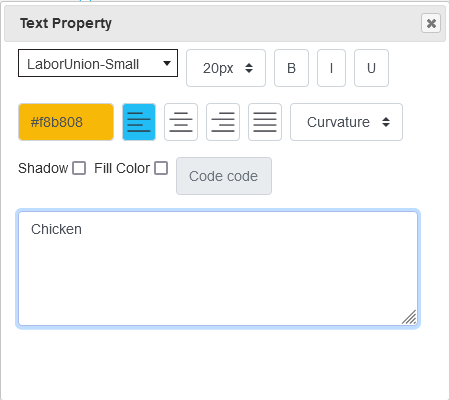
8. Tap on ‘Add Text’ to start adding content to your template. Double tap on the text box to adjust the font type, font size, font color and other formatting options.
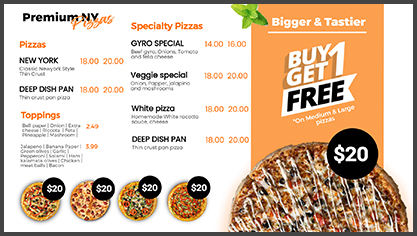
9. Tap on ‘Add Menu’ to start adding menu items. Easily add different sizes to any item if needed.
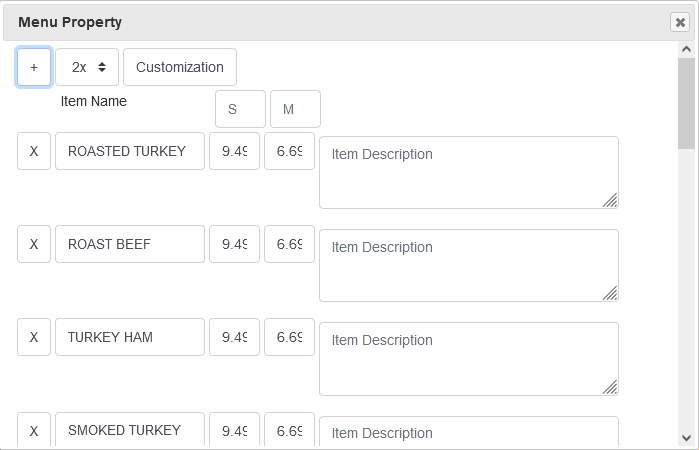
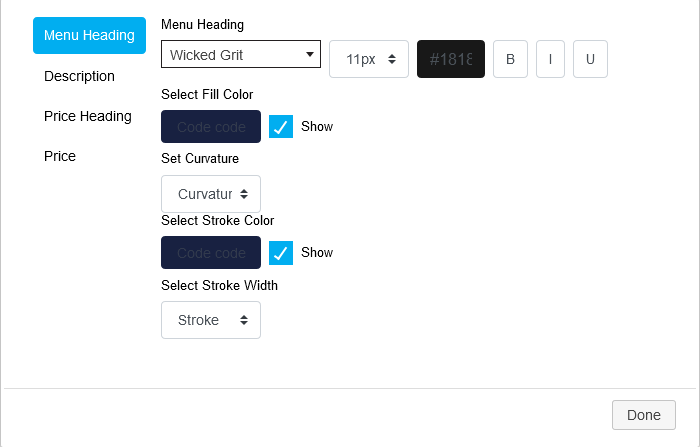
10. You can make customisations to the menu items like menu heading, item description and the price.
11. You can also set the spacing between price and menu item as needed
12. With curvature, you can give rounded corner effect to your text background color that works best
13. With Stroke, you can give stroke lines to the text background fill color. Test it out to see how it looks and customize it like you need.
14. Tap on ‘Add Shape’, select the one of your choice and adjust it like you need in the template.
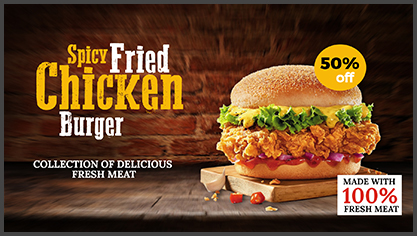
15. The system also offers tons of food stock images that can be used.
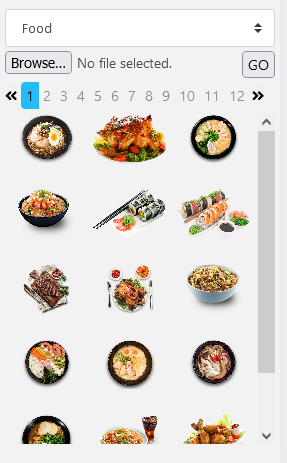
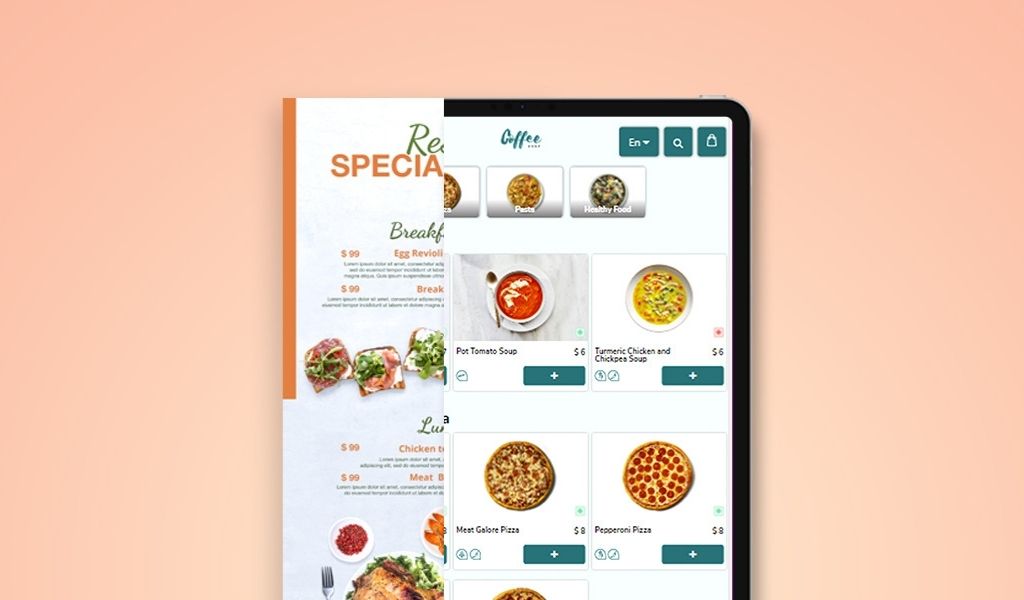
16. You can also import your own food images to create the template. The images that you upload from your side can be seen in the My Images section – the last option that you see for the image categories.
17. There is no limit to the number of images that you can use inside a template.
18. We also have many layering options to work with.
- ‘Bring to Front’ will bring the image to the top or front of another image. Similarly ‘Send to Back’ will bring the image to the bottom most layer.
- ‘Move Up’ and ‘Move Down’ will work in case of multiple images. Let’s say if you have three images layered one after another, Move up will bring the image to the top by one layer, tap on Move up again and it will bring the image up by another layer. Same goes for Move Down.
Save all the changes on the template. Link the app to the device directly and get going if you do not have a playlist.
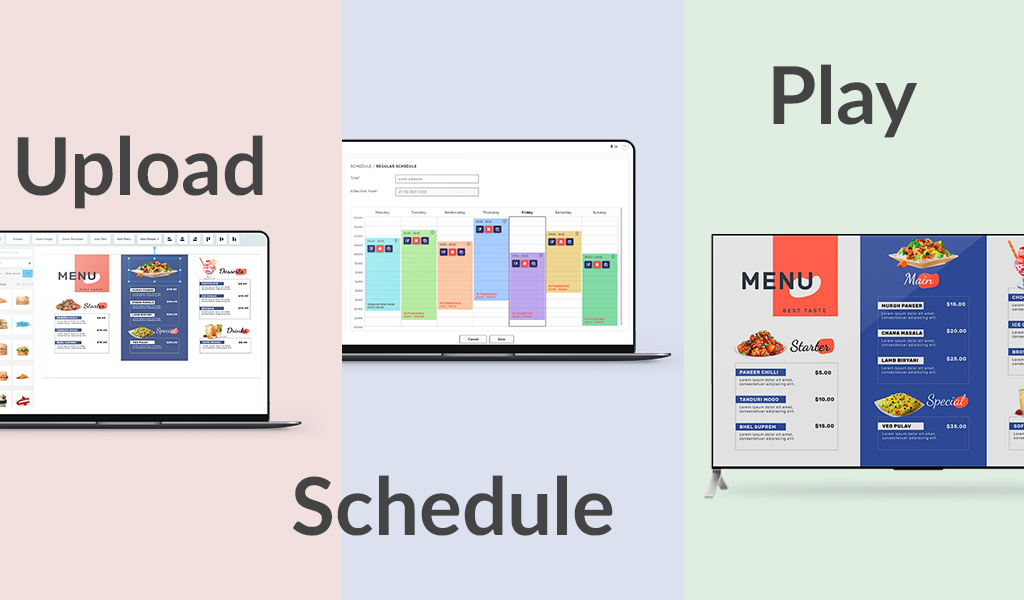
19. Playlist:
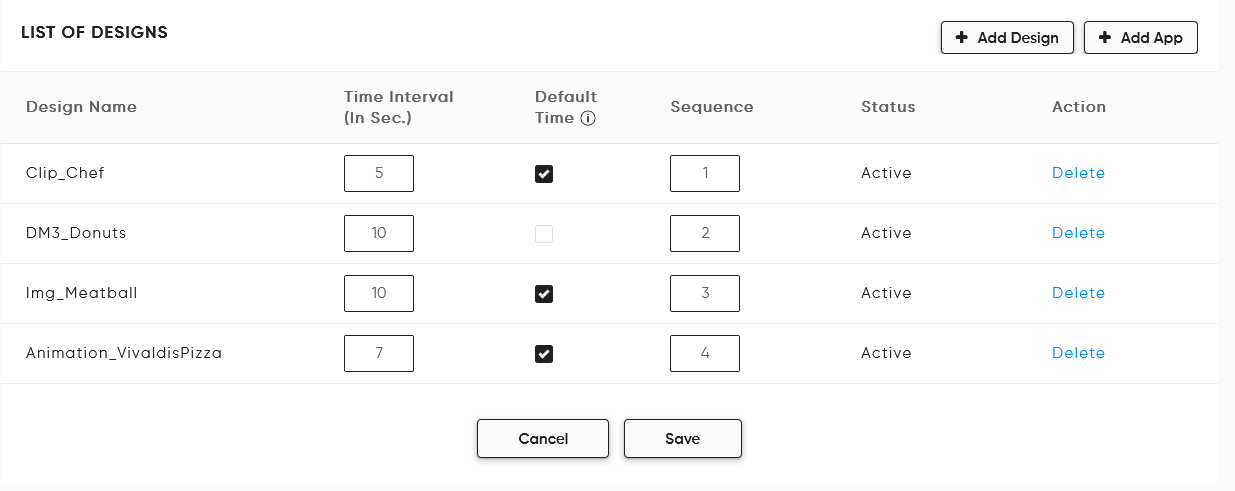
- If you have multiple items to be displayed on the screen apart from the menu board, you can add the template to the playlist that you have.
- Once the menu board template is created, set and configured, tap on the ‘Playlist’ section on the left panel.
- Enter the details of the playlist and tap on ‘Add App’.
- Select the menu board to be displayed in the app pop-up with a list of menu board templates you created and save the details.
20. Scheduler:
- Go to the Scheduler section in the left panel and tap on ‘Create Scheduler’.
- Add ‘Regular’ or ‘Event’ based scheduler as per your needs.
- Select the weekday and the time for which the playlist needs to be played
- Select the matching playlist for the scheduler and tap on ‘Save & Publish’.
Once you start using our template editor, you cannot just go back to any other way to get the menus up and running. Reach us out at support@lirascreen.com for your digital menu board needs today!

Add a Comment